
We know sometimes changing the Name Server can be really messy. But we will guide you in the proper way so that you will be able to do it quickly. Just follow the given Three steps and enjoy the process.
Changing hosting from Bigrock to Godaddy can be very confusing if you do not know the exact way of doing it.
Let us go step by step:
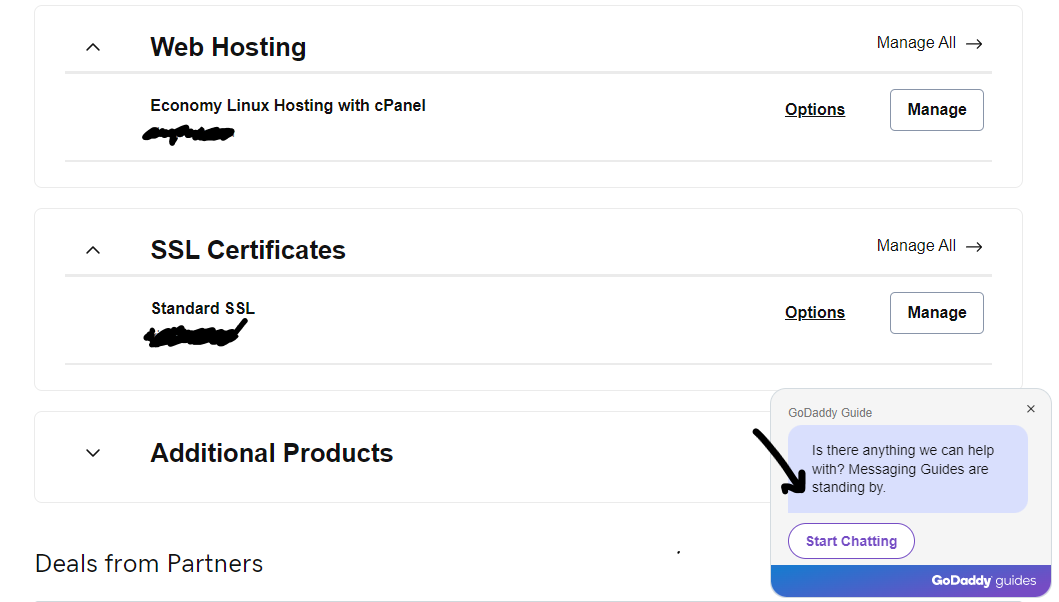
Step-1: Get the Nameserver from the godaddy account
We need to get the Nameserver from the godaddy account. Now in order to get access to your name server you will need to chat to Godaddy Agent. You can chat with an agent or call godaddy customer care as due to high security godaddy has removed the column of Name Server so in order to access it you will have to ask for it.
After getting the Name server details your 1st step is done.
Step-2: Put the name server details in Bigrock Domain
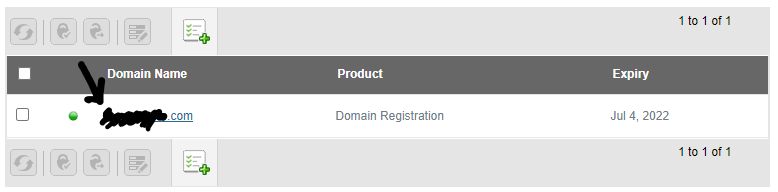
a) Log in to your Bigrock account in which you have your domain. Click on your domain which you want to host from godaddy
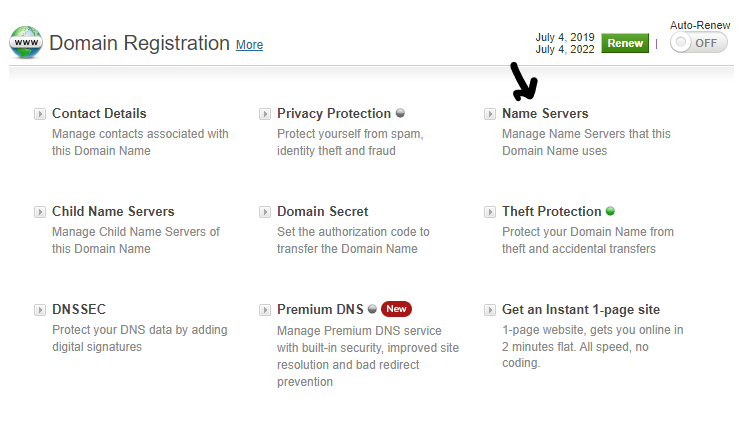
b) After clicking it you need to click Name server
c) Now you will be able to see the blank or old server details. You need to delete the existing one and put the server details as you got from Godaddy.
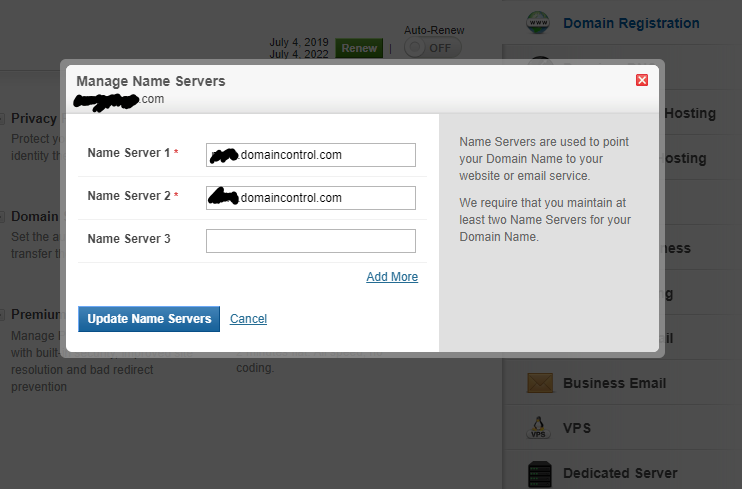
Once you change it and update it generally it happens in moments but it may take as long as 48 hours max.
You can check the status by many third party tools such as DNSchecker.org
Conclusion:
Hence By the above innovative ideas shared with you . You can easily move your hosting plan to Godaddy without any problem. Just keep a few things in mind like getting the Nameserver details from Godaddy agent , Putting the Nameserver details properly in Bigrock and deleting the previous one.
Once the whole thing is done you can easily checkout the status on the DNS checker. Usually it happens in a few minutes but it might take as long as 48 hours.